Please note, if you need customized help with this, contact us for reasonably-priced help with MDT. No job is too small or too large.
Making a Customized MDT Image
You can use a three step process for your MDT images.
Step 1 – A base operating system is installed, such as Windows 7 or Windows 8.1, and any additional software packages are installed.
Step 2 – The image is captured and Sysprep is run. Optionally, the user profile can be copied so that a customized user profile is deployed to each user.
Step 3 – The image captured in Step 2 is deployed, and any additional software or customizations are installed.
x86 or amd64
The items below have an amd64 prefix, but if you are working with an x86 image, the prefix will be x86.
Step 1: Deploy the source installation
The standard client task sequence should be created, and the amd64 or x86 Win 7 source should be selected. After creating the task, open the properties and then open unattend.xml, which will open the Windows System Image manager.
Many of the values are already filled in. Following are the options that were changed, including adding the MS Windows Foundation package so that Games can be turned on. Note that the GamesExplorer must be opened in order for the Start menu to show all installed games:
Components > 4 specialize
- amd64_Microsoft-Windows-Deployment_neutral (THIS IS FOR WINDOWS 8)
- RunSynchronous
- RunSynchronousCommand
- Path: reg.exe add “HKLM\SOFTWARE\Microsoft\Windows NT\CurrentVersion\Winlogon” /v EnableFirstLogonAnimation /d 0 /t REG_DWORD /f
- RunSynchronousCommand
- RunSynchronous
- amd64_Microsoft-Windows-Security-SPP-UX_neutral
- SkipAutoActivation: True
- amd64_Microsoft-Windows-Shell-Setup_neutral
- ShowWindowsLive: false
- TimeZone: YOUR TIME ZONE
Components > 7 oobeSystem
- amd64_Microsoft-Windows-Shell-Setup_neutral
- UserAccounts
- LocalAccounts
- OPTIONAL: Add any additional local accounts, and add them to appropriate groups, such as “Administrators.”
- LocalAccounts
- DELETED the Display section so that it uses the native display resolution.
- UserAccounts
Packages > Foundation amd64_Microsoft-Windows-Foundation_Package_6.1.7601.17514
- InboxGames: Enabled (WINDOWS 7 ONLY)
- NetFx3: Enabled (WINDOWS 8 ONLY)
Task Sequence Steps
Enable the “Windows Update (Pre-Application Installation)” and “Windows Update (Post-Application Installation)” steps.
If you have any application bundles you wish to install, add them to the Application Install step.
Step 2: Sysprep and Capture Task
After setting up the source image, create a Sysprep and Capture task. Run the task to capture the image.
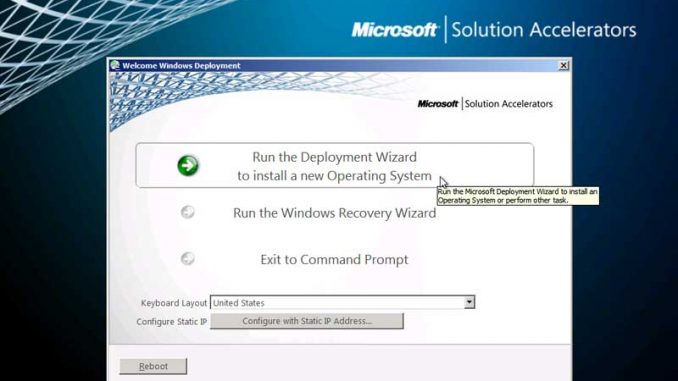
On the source computer, open a connection to the deployment share and run LiteTouch.vbs from the scripts share.
Select step 2, and ensure that you select the option to capture an image.
Step 3: Deployment task
Import the completed image into the Deployment Workbench.
Create a standard client task to deploy the newly created image.
Edit the unattend.xml file for this task sequence. Note: If the image catalog has not yet been created, you must run this step from an x86 computer if this is an x86 image.
Components > 4 specialize
- x86_Microsoft-Windows-Shell-Setup_neutral
- CopyProfile: true
- x86_Microsoft-Windows_IE-InternetExplorer_neutral
- Delete this entire key since it is incompatible with IE 10 and later. If you do not, sysprep will fail when restoring.
Components > 7 oobeSystem
- x86_Microsoft-Windows-Shell-Setup_neutral
- Themes
- ThemeName: aero (NOTE: Only set this is you are not already using a custom theme!)
- Display
- Delete this key
- Themes
NOTE: If you update the image used by the task sequence, make sure to edit the unattend.xml file so that it generates a catalog for the image file. If you don’t, you’ll get a Sysprep error when deploying.
Modifications
The default “Install Applications” step will install all applications listed under the “Role” for that computer in the MDT database (if you are using the MDT database).
You can add a command line to reboot the computer so that it doesn’t autologon to the Administrator desktop at the end of the task sequence, and instead reboots to the CTRL+ALT+DEL screen:
C:\windows\system32\shutdown.exe -r -t 10 -c “Rebooting the PC to complete the Build”
Deploy the image and ensure that everything looks OK.
References
http://www.windowsnetworking.com/articles_tutorials/Customizing-Default-User-Profile-Windows-7-Part1.html
http://www.windowsnetworking.com/articles_tutorials/Customizing-Default-User-Profile-Windows-7-Part2.html
http://www.windowsnetworking.com/articles_tutorials/Customizing-Default-User-Profile-Windows-7-Part3.html
http://www.autoitconsulting.com/site/deployment/windows-7-aero-theme-not-enabled-after-deployment/

Leave a Reply